

This tutorial provides the builder settings and CSS codes that can be pasted in order to create a 3-columns query loop container inside Bricks Builder.
Table of Contents
- The structure
- Flexbox
- CSS Grid – 1st method (requires additional CSS)
- CSS Grid – 2nd method (requires additional CSS)
- Column-count (masonry style)
- Conclusion
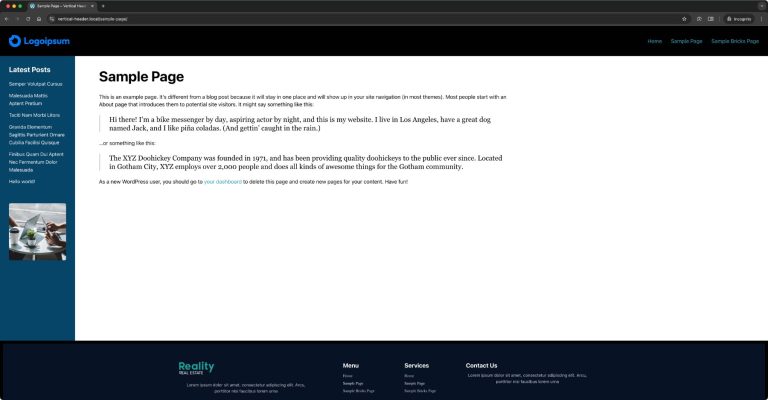
The structure

As you can notice, we run our query loop on a Div element which is wrapped by a parent container where we’ll add most of our CSS when needed. The elements inside the Div aren’t relevant to the layout and were added for a demonstration purpose.
Flexbox
As of version 1.5 of Bricks, Flexbox is the only method that is supported natively and doesn’t require any additional CSS.
Preview

Flexbox works great until you have to manage gaps between each item. We’ll have to create a CSS calc() function that will calculate the correct width (called flex-basis in flexbox) of our Divs minus the gaps distributed between them. In our example, we’ll use a 2rem gap but feel free to change this value with your own one.
The container settings:

- we set
flex-wrapto wrap - we changed the
flex-directionto row - we added both column and row gaps
The div settings:

- We set both
flex-growandflex-shrinkto 1 - We set the
flex-basisas follows:- desktop:
calc(33.333% - calc(calc(2rem * 2)/3)) - tablet:
calc(50% - calc(calc(2rem * 1)/2)) - mobile:
100%
- desktop:
CSS Grid – 1st method (requires additional CSS)
The CSS grid is probably the method that makes more sense when dealing with card grids, though it’s not natively supported by Bricks yet (as per 1.5 version) so it requires us to add some additional CSS.
Preview

The Container CSS:
root {
  display: grid;
  grid-gap: 2rem;
}
@media screen and (min-width: 768px) {
   root{
      grid-template-columns: repeat(2, 1fr);
   }
}
@media screen and (min-width: 992px) {
   root{
      grid-template-columns: repeat(3, 1fr);
   }
}
CSS Grid – 2nd method (requires additional CSS)
This method is slightly different from the first one, as we are going to use CSS variables to define the gap between cards, the minimum width of each card, and the maximum number of columns we want to have on larger screens. The advantage of this method is that once you’ve set your CSS variables, you don’t have to use any media queries to define when the columns need to stack – the CSS formula will calculate it for you.
Preview
The Container CSS:
Just paste the following code inside the container’s CSS tab. If you want to change the gap, the maximum number of columns, or the minimum width of your cards, just change the value of the first 3 CSS variables:
root {
   /* Set the following variables as you need */
   --grid-layout-gap: 2rem;
   --grid-column-count: 3;
   --grid-item--min-width: 280px;
   /* End of variables - Don't modify the following values */

   display: grid;
   grid-gap: var(--grid-layout-gap);
}

@media screen and (min-width: 768px) {
   root {
      --gap-count: calc(var(--grid-column-count) - 1);
      --total-gap-width: calc(var(--gap-count) * var(--grid-layout-gap));
      --grid-item--max-width: calc((100% - var(--total-gap-width)) / var(--grid-column-count));
      grid-template-columns: repeat(auto-fill, minmax(max(var(--grid-item--min-width), var(--grid-item--max-width)), 1fr));
   }
}
Column-count (masonry style)
If you are looking for a “fake” masonry style, there is a pure CSS solution using the column-count property.
Preview

The container settings:

Make sure to set the container to display: block and add the following CSS code in the CSS field:
root {
   column-count: 1;
   gap: 2rem;
}
root > div {
   break-inside: avoid-column;
}
@media screen and (min-width: 768px) {
   root{
      column-count: 2;
   }
}
@media screen and (min-width: 992px) {
   root{
       column-count: 3;
   }
}
Conclusion
It has been repeatedly reported in the Facebook group that creating a 3 columns layout for query loop containers can sometimes be tricky for non-developers. We hope that this tutorial will clarify the different options you’ve got and give your actionable tips to apply modern techniques to your future project.


2 comments
Alfredo
Hi! Works perfect but anyway post direction was in a row and not in a column like now?
Ahmed
Thanks for this awesome tutorial! I searched for the query loop on YouTube but none showed how to use it to create grid layout.