This tutorial provides the builder settings, PHP & CSS codes that can be pasted in order to populate a dynamic nested slider from a custom frontend submission form using ACF PRO inside Bricks Builder.
Table of Contents
Requirements
Before we jump in into the details, make sure you have the following setup working:
- Bricks version 1.5 beta or later
- Bricks Child Theme activated
- A dedicated Custom Post Type added for the testimonials (in our example we called it
testimonials) - ACF PRO activated
- Custom fields assigned to our custom post
- A Nestable Slider with:
- a query loop set to loop inside our custom post
- all the elements (name, job position, image, etc…) using the dynamic data from the custom fields
Create a “Thank You” page
That’s the easy part! Let’s just create a new page in Bricks and create a static thank-you page. In this example we’ll keep things really simple: a header, an image and a button that redirects to our slider:

Create a Page Template
Let’s create a new file called page-acf_form.php in the root of our Child Theme and paste the following code inside it.
<?php
/**
* Template Name: ACF Form
*
* @package WordPress
* @subpackage Bricks
* @since Bricks 1.0
*/
acf_form_head();
get_header();

$bricks_data = Bricks\Helpers::get_bricks_data( get_the_ID(), 'content' );

if ( $bricks_data ) {
	echo '<main id="brx-content">' . Bricks\Frontend::render_data( $bricks_data ) . '</main>';
} else {
	if ( have_posts() ) :
		while ( have_posts() ) :
			the_post();
			get_template_part( 'template-parts/page' );
		endwhile;
	endif;
}

get_footer();
Let’s edit the page in WordPress where the form will be displayed. You should now see the following meta box on the right, just after “move to trash”:

From now on, everytime you’ll need to insert an ACF form to one of your page, make sure to select the ACF Form template and save.
The ACF code
Add a code element in Bricks where you wish the form to be displayed, and paste the following code:
<!-- PHP CODE -->
<?php
//load the ACF frontend form
acf_form(array(
  'id'            => 'testimonial_form',
  'post_id'       => 'new_post',
  'new_post'      => array(
     'post_type'     => 'testimonials',
     'post_status'   => 'pending'
     ),
  'post_title'    => true,
  'return'        => '/testimonial-submission-confirmed/', //make sure to update the slug to your own thank-you page.
  'submit_value'  => false,
));
?>
<!-- CSS CODE -->
<style>
  /* hide the default ACF input */
  .acf-form-submit input.acf-button{
  	display: none;
  }
</style>
<!-- CUSTOM INPUT USING BRICKS STYLES -->
<input type="submit" id="mySubmitBtn" class="brxe-button bricks-button bricks-background-primary" value="Submit my testimonial" onclick="document.getElementById('testimonial_form').submit();">
Please review the code and adapt it to your needs:
- Double check that the
post_typename is correctly spelled (in our example,testimonialsis our CPT name ). - If you don’t plan to review the testimonial before it gets published, you can change the
post_statustopublish. - make sure to update the slug to your own thank-you page
- If you want to change the text of the Submit button, edit the
value="Submit my testimonial"inside the input tag to the value of your choice.
If everything worked correctly, you should now see the following form inside the builder:

Conclusions
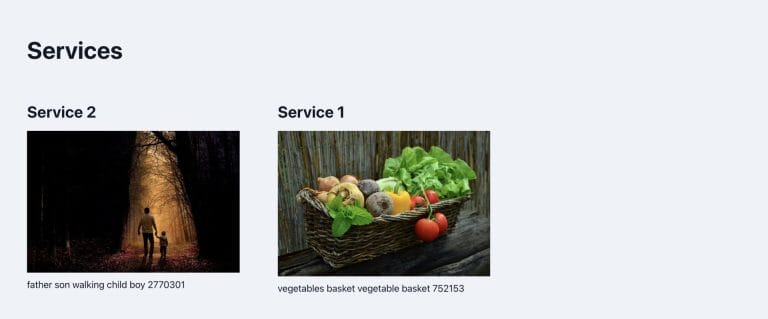
It’s time to test our frontend form and check if our slider get updated correctly:
That’s all for this tuto! If you have any questions, feel free to reach out in Bricks Community Facebook group and I’ll happily try to help!