
This tutorial provides the PHP & JS codes that can be pasted in order to create a flying effect on map markers each time your click on CPT’s header inside the Bricks Builder.
Requirements
- All the codes running from PART 1 of this map series
Bricks structure
Our goal now is to create a flying effect on the map when the user clicks on the store’s header. To accomplish this effect, we’ll need to add a separate query loop container in bricks where we’ll dynamically add the store’s headers wrapped in a <a> container (called Store’s Header’s Link):

Make sure to select stores as the post type of your query loop container:

I won’t comment on the specific design of this example, it has no impact on the flying function, though make sure to:
- create a link wrapper with the class
.store-header-linkand set the link as an external link with value#:

- The dynamic header should be a direct child of the link wrapper and loaded dynamically through our ACF field:

- And finally, we need to add a couple of data-attribute to the header:

data-leaflet-latwith the value{acf_store_latitude}data-leaflet-longwith the value{act_store_longitude}
The JavaScript
We’ll need to add a small script to our existing JS code in order to fly to the correct lat/long of the clicked store:
// Flying effect inside the map on store's header click

const storeHeadersLink = document.querySelectorAll('.store-header-link');

if (storeHeadersLink.length > 0){
	storeHeadersLink.forEach( (link) => {
		link.addEventListener('click', (e) => {
			e.preventDefault();
			let lat = e.target.dataset.leafletLat;
			let long = e.target.dataset.leafletLong;
			map.flyTo([lat,long], 17);
		});
	});
};
Note that the 17 number in row 7 of our function is the level of zoom you want to apply to the map once the store header has been clicked. Feel free to modify this number to your needs.
The whole Javascript file should now look like this:
window.addEventListener('load', () => {
const canvas = document.querySelector('#map');
if (!document.body.classList.contains('bricks-is-frontend') || canvas === null ){
return;
}
var mbAttr = 'Map data © <a href="https://www.openstreetmap.org/copyright">OpenStreetMap</a> contributors, Imagery © <a href="https://www.mapbox.com/">Mapbox</a>';
var mbUrl = 'https://api.mapbox.com/styles/v1/{id}/tiles/{z}/{x}/{y}?access_token=pk.eyJ1IjoibWFwYm94IiwiYSI6ImNpejY4NXVycTA2emYycXBndHRqcmZ3N3gifQ.rJcFIG214AriISLbB6B5aw';
var streets = L.tileLayer(mbUrl, {id: 'mapbox/streets-v11', tileSize: 512, zoomOffset: -1, attribution: mbAttr});
var osm = L.tileLayer('https://{s}.tile.openstreetmap.org/{z}/{x}/{y}.png', {
maxZoom: 19,
attribution: '© <a href="http://www.openstreetmap.org/copyright">OpenStreetMap</a>'
});
var satellite = L.tileLayer(mbUrl, {id: 'mapbox/satellite-v9', tileSize: 512, zoomOffset: -1, attribution: mbAttr});
var map = L.map('map', {
center: [canvas.dataset.leafletLat, canvas.dataset.leafletLong],
zoom: canvas.dataset.leafletZoom,
layers: [osm, cities]
});
var baseLayers = {
'OpenStreetMap': osm,
'Streets': streets,
'Satellite': satellite
};
var layerControl = L.control.layers(baseLayers).addTo(map);
// Flying effect inside the map on store's header click
const storeHeadersLink = document.querySelectorAll('.store-header-link');
if (storeHeadersLink.length > 0){
storeHeadersLink.forEach( (link) => {
link.addEventListener('click', (e) => {
e.preventDefault();
let lat = e.target.dataset.leafletLat;
let long = e.target.dataset.leafletLong;
map.flyTo([lat,long], 17);
});
});
};
});Conclusion
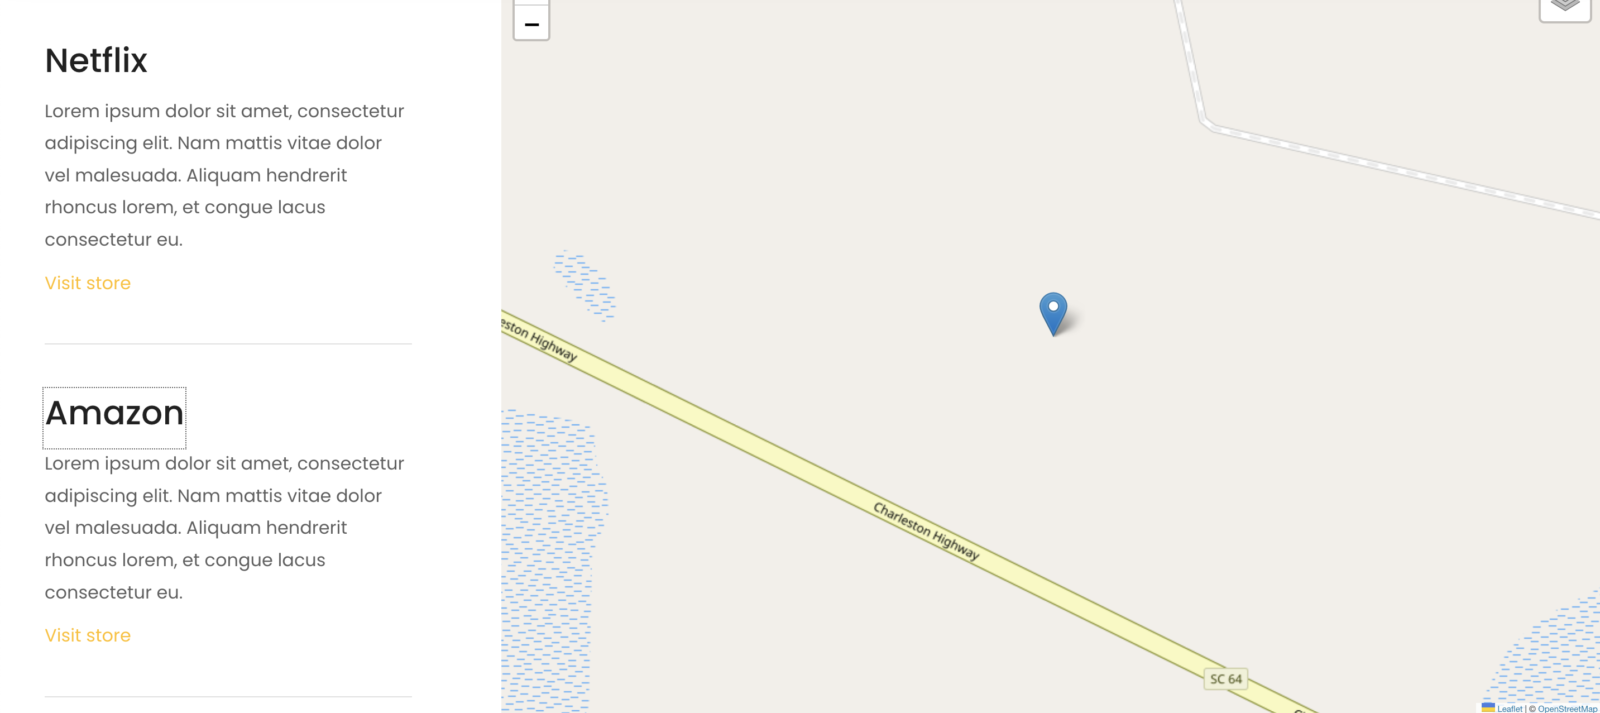
If everything worked as expected, you should see the following result on frontend:
I hope you enjoyed this mini Map series and see you soon for the next tutorial!







2 comments
Seamus
Thanks so much for this class tutorial Maxime! I have got it working ok, but wondering is there a way to speed up the flyto animation? It currently takes around 10 seconds to travel from one marker to the next.
Cheers! Seamus
Maxime Beguin
Hey Seamus,
On the last row of the js file, try to add the duration parameter like this:
map.flyTo([lat,long], 17, {duration: 2});
Let me know if that works!