
This tutorial provides the steps to set up post-specific synced/linked thumbnail sliders that show photos from a gallery-type custom field using BricksExtras plugin in a WordPress site powered by Bricks.
We will have the main slider at the top and the thumbnail slider at the bottom.
Step 1
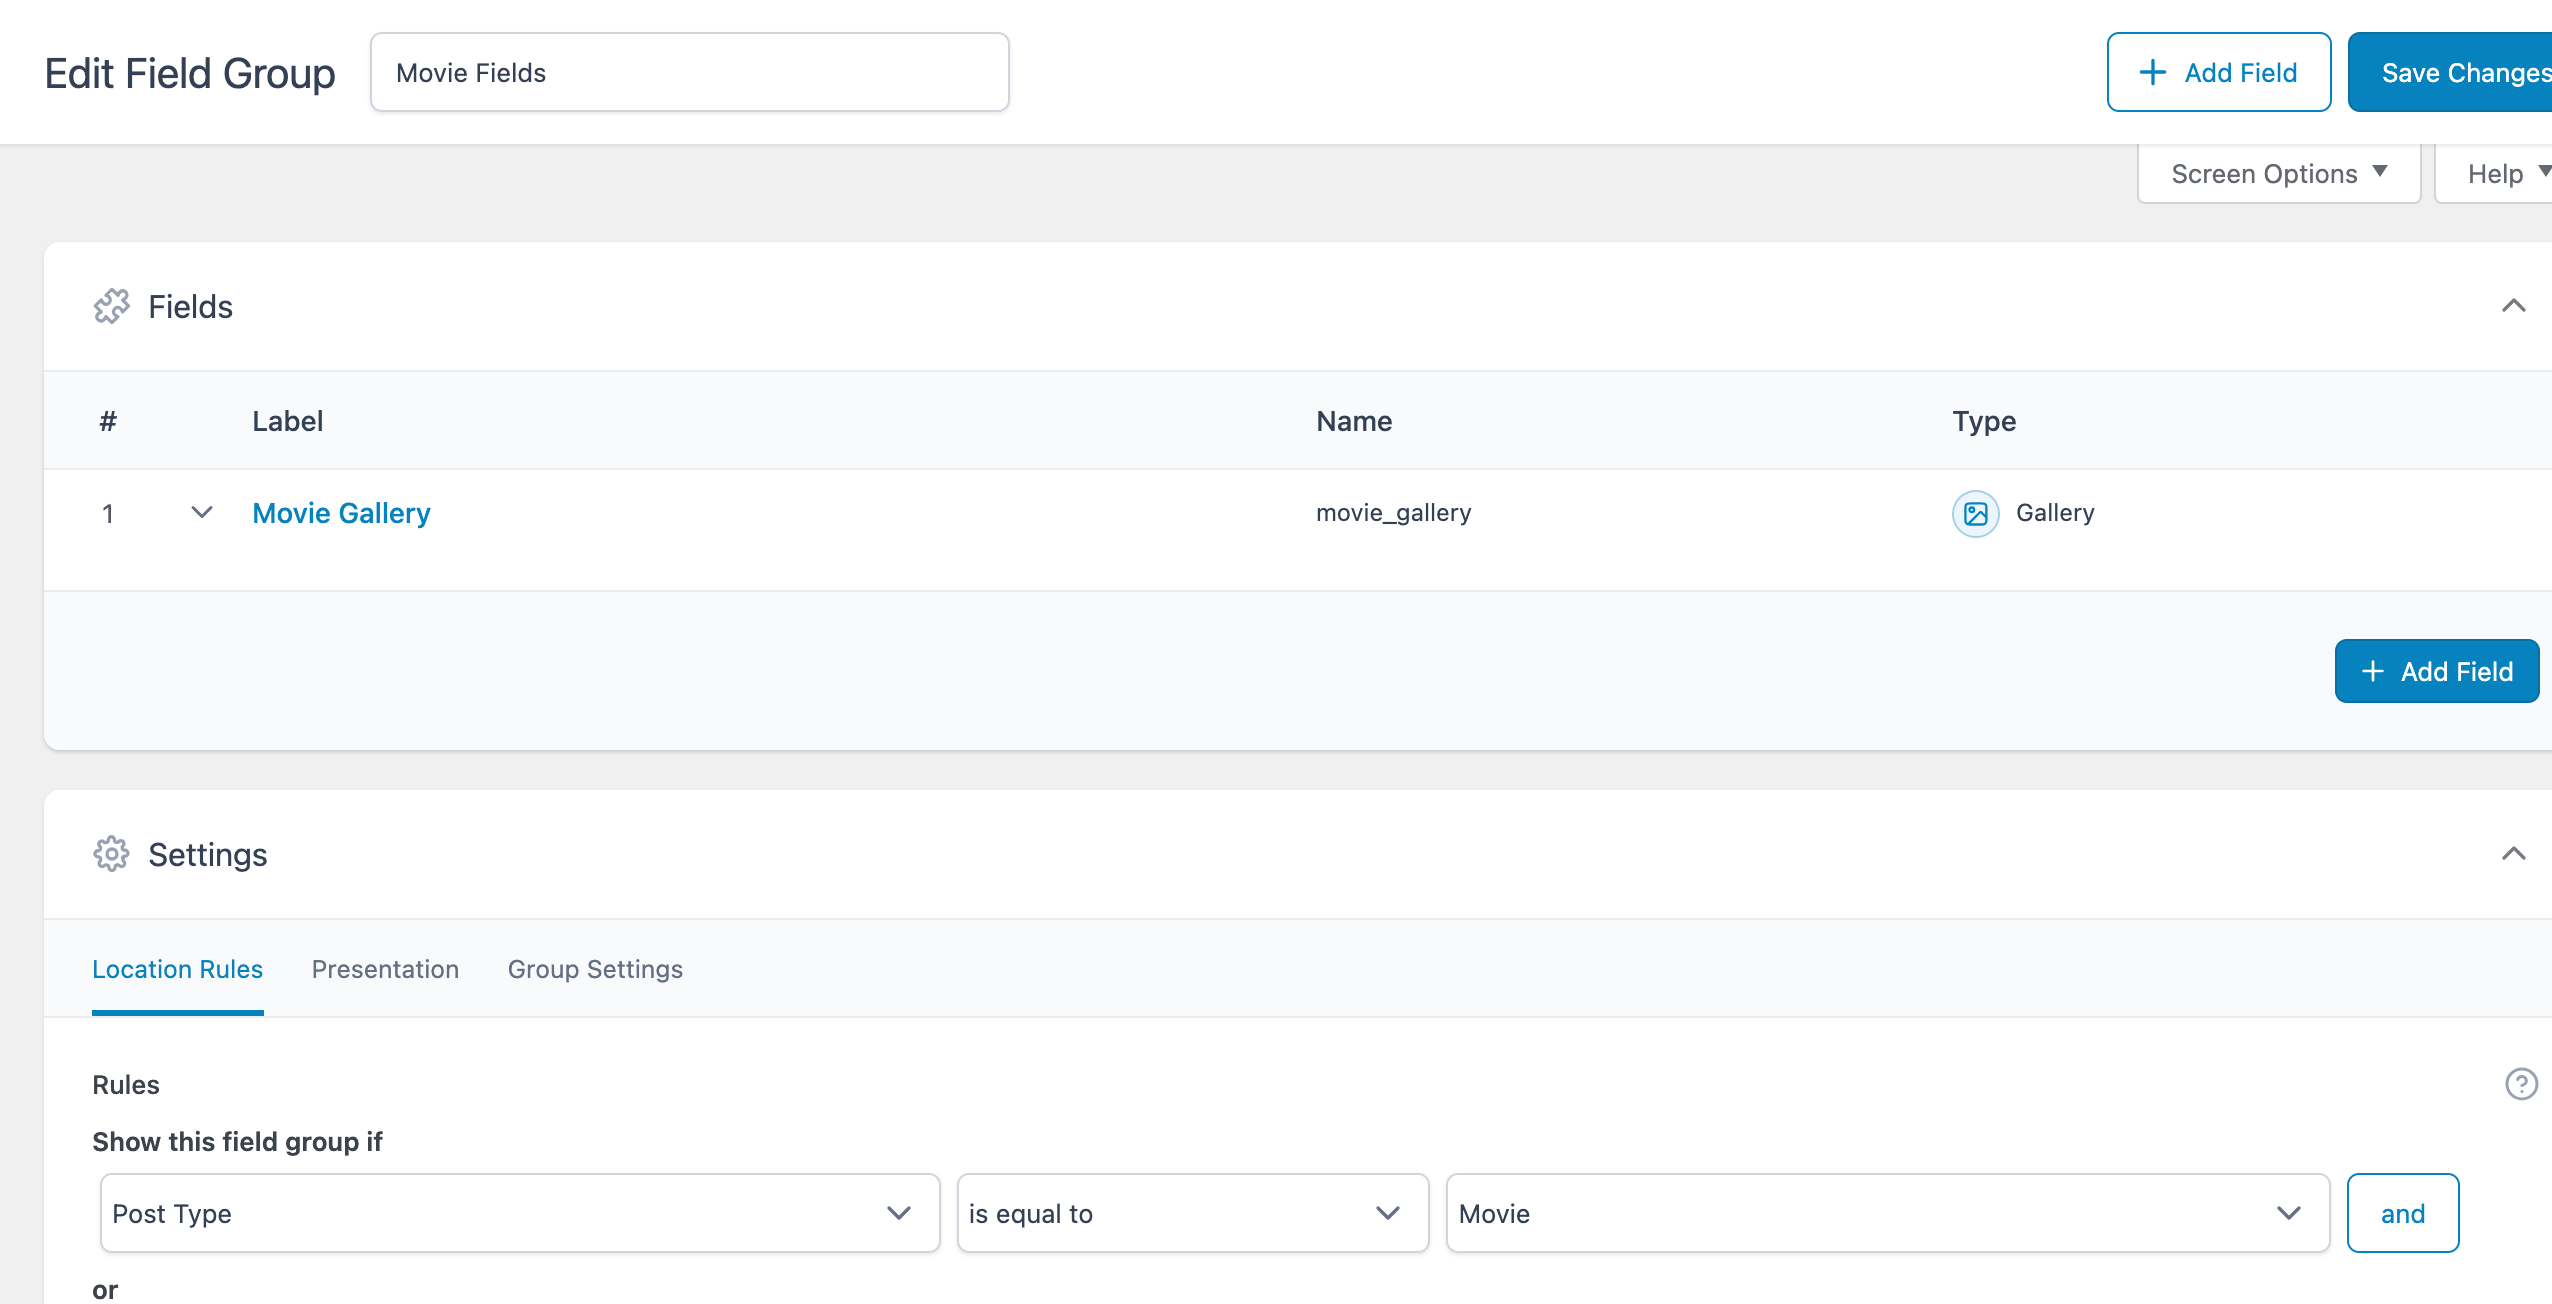
Create a Gallery type field if using ACF Pro or an Image Advanced type field if using Meta Box.
Associate it with your post type.
Step 2
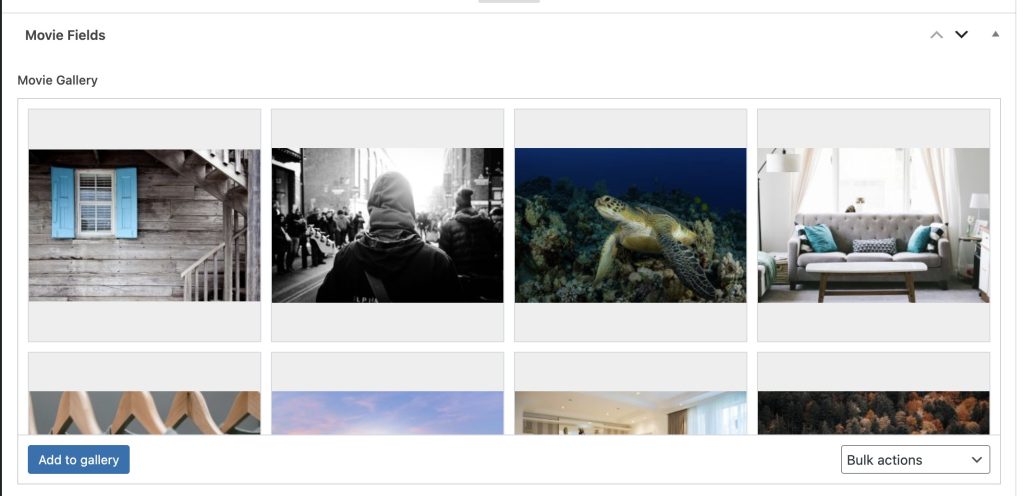
Edit your (CPT) posts and populate the field for each.
Step 3
Install BricksExtras.
Enable these elements: Pro Slider and Pro Slider Gallery.
Step 4
Create a single Bricks template for your post type and edit it.
Add a Section and inside its Container, Post Title and Post Content elements.
Add another Section and inside its Container, a Pro Slider element.
SLIDES / LAYOUT
No. of slides to show: 3 (you may want this to be an odd number like 3 or 5 so that the larger version of the image appears centered when a thumbnail is clicked in the bottom slider)
Gap between slides: 20
INTERACTION / BEHAVIOUR
Focus: center
NAV ARROWS
Icon size: 22
For both PREV ARROW and NEXT ARROW:
Top: auto
Bottom: -70
PAGINATION DOTS
Position:
Top: auto
Bottom: -30
GALLERY
Enable Gallery mode.
Add a Pro Slider Gallery element under the Pro Slider.
When you are done implementing this tutorial, the structure should look like this:

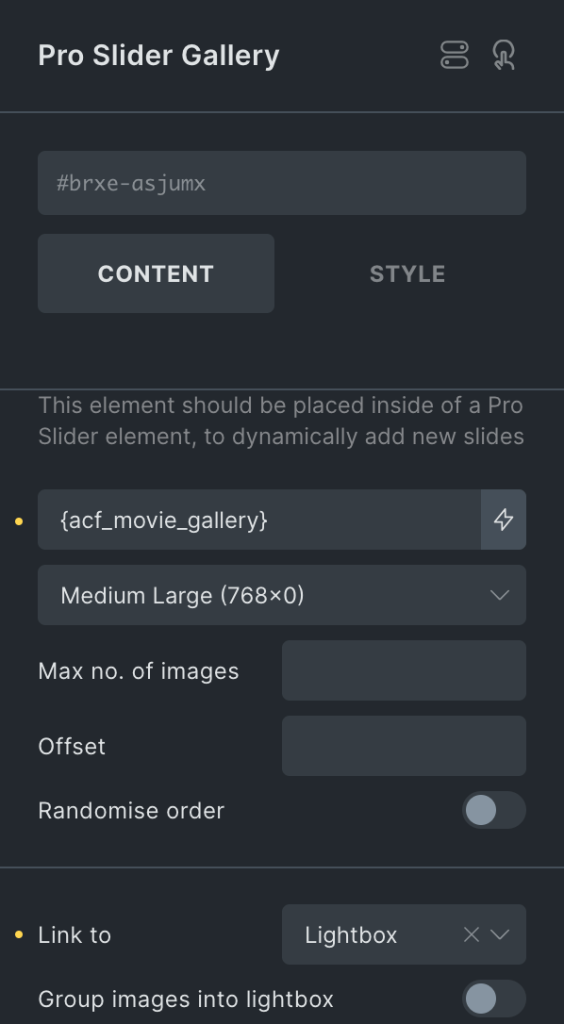
Click the dynamic data bolt icon and select your gallery field.
Select your desired image size.
Link to: Lightbox
If you would like to show thumbnails at the bottom in the lightbox, tick “Group images into lightbox” and “Thumbnail navigation”.
If the thumbnails are not centered on the front end or if they seem to move for each click (to make the active thumb centered), add this CSS in template’s Page settings → Custom code:
.pswp__thumbnail-nav-wrapper {
  left: 50% !important;
  transform: translate(-50%, 0);

  .pswp__thumbnail-nav {
    transform: none !important;
  }
}
Step 5
Let’s set up the thumbnail slider.
Duplicate the Pro Slider.
In the STYLE tab under LAYOUT, set left and right margins to auto. Also, set width to auto.
SLIDES / LAYOUT
Gap between slides: 10
Enable ‘Auto slide width’.
NAV ARROWS
Set to None.
PAGINATION DOTS
Disable.
SYNC SLIDERS
Enable sync.
Copy the CSS ID of the main slider and paste.
Ex.:

GALLERY
Enable Gallery mode.
Step 6
Select the Pro Slider Gallery inside the thumbnail slider.
You may want to select a smaller image size.
If you’d like to register a custom image size, add the following in child theme‘s functions.php (w/o the opening PHP tag) or a code snippets plugin:
<?php

add_image_size( 'small-thumbnail', 75, 75, true );
and done! Check on the frontend.
Here is a JSON export of the Section from our dev site for your reference.


