

In this tutorial, we’ll show you how to change the layout of your query loop container based on the click of an icon toggle sitting on top of it.
Table of Contents
Introduction
Are you willing to let your users choose from different layout options for your query loop grid?
This tutorial will try to explain how without using external plugins, js libraries, or duplicating the content (you really don’t want to hurt your SEO content optimization, right?), but just by adding a bit of custom code to your page.
DOM Structure
Recreate the following structure and apply the classes as shown below. Note that the post container style/tree is totally up to you – it has no impact on the script.

IMPORTANT: make sure to add the .toggle-layout--active class to the default active toggle. Feel free to style this class as you wish.
On each toggle layout, add the following attributes:

For the data-layout attribute, choose a unique name that describes the layout as a value. In our example, we added list, list-two-col, and grid. These names will be used as class names and will be added to the query container in order to style our inner elements based on the specific layout.

For the data-layout-col attribute, insert the number of columns that will be applied to the query container:

The JavaScript
Insert the following code inside your page. My personal recommendation is to use the conditional enqueue method described here:
// Run the script once the DOM has been fully loaded - avoid render blocking
window.addEventListener('DOMContentLoaded', () => {

   // Query all the containers with layout toggles
   const containers = document.querySelectorAll('.loop-ctn-w-layout-toggles');

   // Check if there are containers with layout toggles on the page
   if (containers.length < 1) return console.log('There is no container with layout toggles on this page. Double check you correctly added the .loop-ctn-w-layout-toggles class on the main container.');

   // Loop into all of them
   containers.forEach(container => {

      // Query the toggle container
      const toggleContainer = container.querySelector('.toggle-container');

      // Check if there is a toggle container
      if (!toggleContainer) return console.log('There is no toggle container. Double check you correctly added the .toggle-container class on the toggle container.');

      // Query the query container
      const queryContainer = container.querySelector('.query-container');

      // Check if there is a query container
      if (!queryContainer) return console.log('There is no query container. Double check you correctly added the .query-container class on the query container.');

      // Query all the toggles
      const toggles = toggleContainer.querySelectorAll('.toggle-layout');

      // Query all the active toggle
      const activeToggle = toggleContainer.querySelector('.toggle-layout--active');

      // Set the active layout on load
      queryContainer.classList.add(activeToggle.dataset.layout);

      // Check if there are toggles
      if (toggles.length < 1) return console.log('There are no layout toggles. Double check you correctly added the .toggle-layout class on each toggle.');

      // Create an empty array for all the different layout classes
      let layouts = [];

      // Populate the array with all the different layout classes
      toggles.forEach(toggle => {

         // Check if the data-layout attribute has been corretly set
         if (!toggle.dataset.layout) return console.log('The attribute data-layout has not been correctly set on the toggles.');
         layouts.push(toggle.dataset.layout);
      });

      // Loop into each toggle
      toggles.forEach(toggle => {

         // Create an Event listener when a toggle get clicked
         toggle.addEventListener('click', (e) => {

            // prevent default actions
            e.preventDefault();

            // get the layout data attribute
            const layout = toggle.dataset.layout;

            // Avoid running the same animation if the toggle is already set correctly
            if (queryContainer.classList.contains(layout)) return;

            // get the number of col from the attribute
            const col = toggle.dataset.layoutCol;

            // Check if the data-layout-col attribute has been corretly set
            if (!toggle.dataset.layoutCol) return console.log('The attribute data-layout-col has not been correctly set on the toggles.');

            // remove existing actuve classes
            toggles.forEach(el => el.classList.remove('toggle-layout--active'));

            // add the current the active class to the clicked toggle
            toggle.classList.add('toggle-layout--active');

            // Remove existing classes from the query container
            queryContainer.classList.remove(...layouts);

            setTimeout(() => {
               // Add the custom class to the query container for further custom design on inner elements
               queryContainer.classList.add(layout);

               // Change the number of col of the grid
               queryContainer.style.setProperty('--grid-column-count', col);
            }, 100);
         })
      })
   })
})
The CSS
insert the following CSS on your page:
.loop-ctn-w-layout-toggles .query-container {
   /* Set the following variables as you need */
   --grid-layout-gap: 3rem;
   --grid-column-count: 4;
   --grid-item--min-width: 280px;
   /* End of variables - Don't modify the following values */

   display: grid;
   grid-gap: var(--grid-layout-gap);
}

@media screen and (min-width: 768px) {
   .loop-ctn-w-layout-toggles .query-container {
      --gap-count: calc(var(--grid-column-count) - 1);
      --total-gap-width: calc(var(--gap-count) * var(--grid-layout-gap));
      --grid-item--max-width: calc((100% - var(--total-gap-width)) / var(--grid-column-count));
      grid-template-columns: repeat(auto-fill, minmax(max(var(--grid-item--min-width), var(--grid-item--max-width)), 1fr));
   }

   /* Optional Animation */
   body.bricks-is-frontend .loop-ctn-w-layout-toggles .query-container .post-container {
      animation: none;
      opacity: 0;
   }

   body.bricks-is-frontend .loop-ctn-w-layout-toggles .query-container.list .post-container,
   body.bricks-is-frontend .loop-ctn-w-layout-toggles .query-container.list-two-col .post-container,
   body.bricks-is-frontend .loop-ctn-w-layout-toggles .query-container.grid .post-container {
      animation: 300ms slide-up ease-in-out forwards;
   }

   /* Optional inner elements style customisation based on the query container layout */
   .loop-ctn-w-layout-toggles .query-container.list .post-container,
   .loop-ctn-w-layout-toggles .query-container.list-two-col .post-container {
      flex-direction: row;
   }

   .loop-ctn-w-layout-toggles .query-container.list .post-container img {
      width: 30%;
      max-height: 100%;
   }

   .loop-ctn-w-layout-toggles .query-container.list-two-col .post-container img {
      width: 45%;
      max-height: 100%;
   }
}

@keyframes slide-up {
   0% {
      opacity: 0;
      transform: translateY(40px);
   }

   100% {
      opacity: 1;
      transform: translateY(0);
   }
}
Important notes:
- This code is based on the 2nd grid method described in this article. Feel free to change the first 3 CSS variables to set your default layout style.

- The CSS contains the following code for optional animations – make sure to change it with your own layout names:

- In this example we decided to change the flex-direction for the list and list-two-col layouts. To do that, we have to add some custom css lines. You first need to attach the layout class to the query container as shown in the red rectangles below, and then target the CSS selector you want to change – in our case both the post container and the featured image:

Final Result
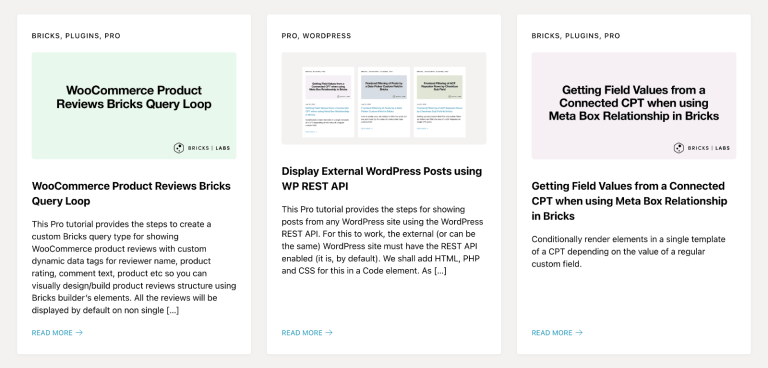
If everything is correctly set, you should see the following result on frontend:


1 comment
Adam
Is this now possible by only using interactions on bricks?